Requestor
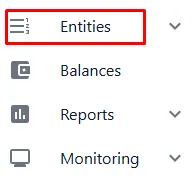
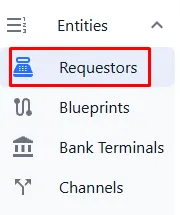
To add a Requestor, in the left menu, expand the Entities section and select Requestors
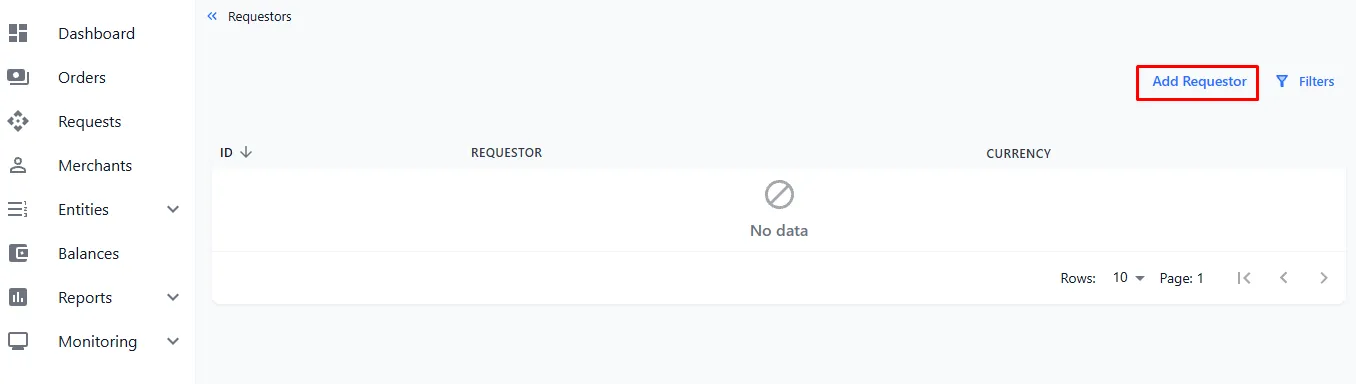
On the main screen, in the top right corner, click the Add Requestor button
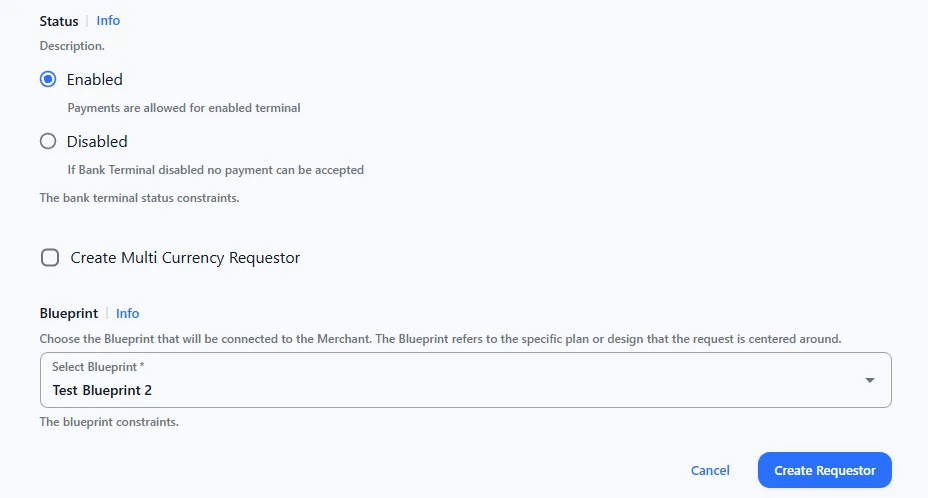
In the opened Create Requestor window, fill in the following fields:
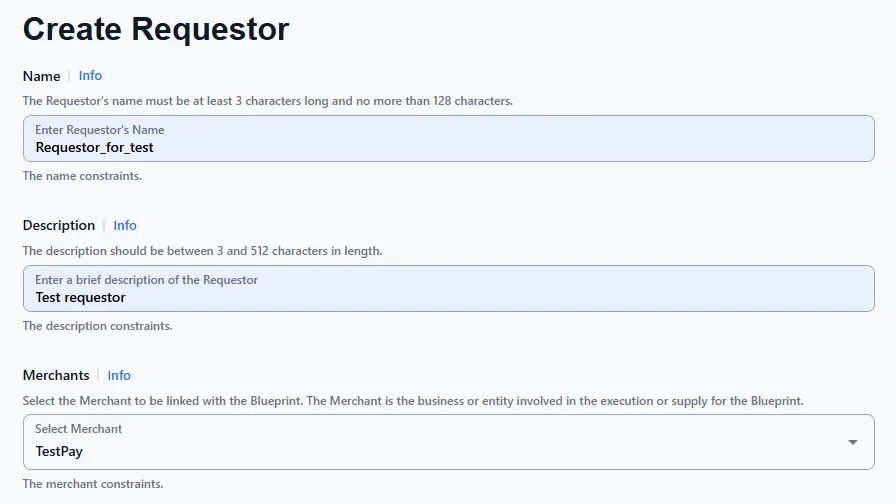
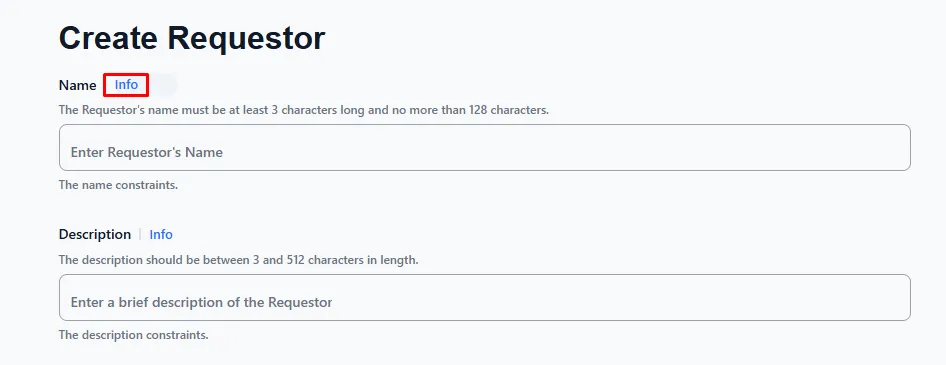
- Requestor name
- Brief description of the requestor
- Select a merchant from the list
-
Select status: active / inactive
-
Select a Blueprint for this requestor from the list
Additionally:
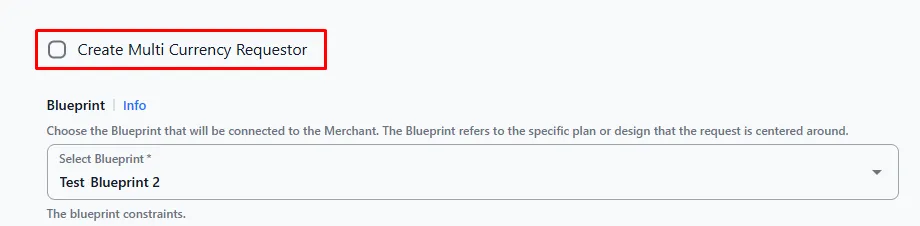
- The Create Multi Currency Requestor checkbox is used if you already have requestors for different currencies and need to combine them into a single multi-currency requestor.
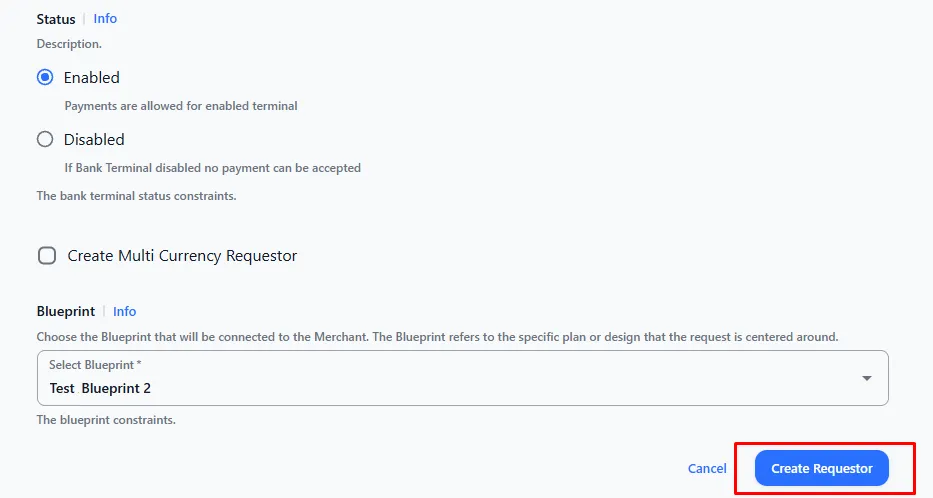
After filling in the data, click the Create Requestor button
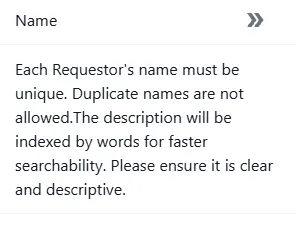
For detailed information about a field, click the Info button
A panel with detailed information about the field and its requirements will open on the right:
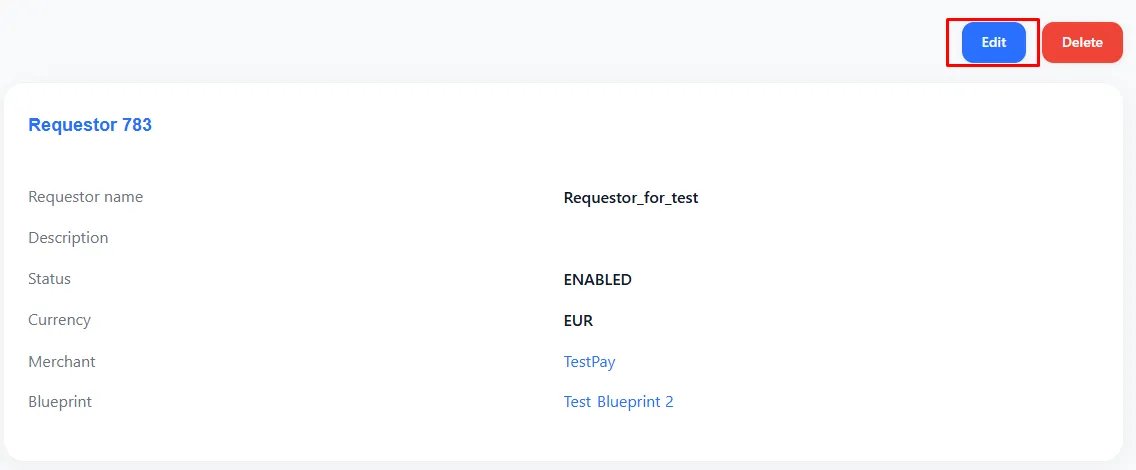
After creation, a screen with information about the requestor will open. To edit the information, click the Edit button
Requestor Balances

If needed, you can use Balances. The balance is created with the assistance of our technical support team, after which you can edit and manage it independently. For Sales, the balance shows the amount of sales minus the commission and does not restrict operations. For payouts, the balance can be used to limit operations to prevent the provider’s account from going negative.
Token generation
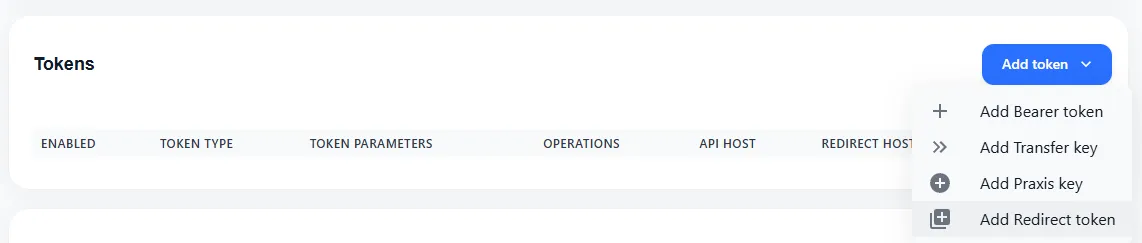
To create tokens for integration, click the Add token button

Next, select the token type from the list
-
Add Bearer token – used for sales
-
**Add transfer key – used for payouts
-
Add Praxis key – used for integration with Praxis / PIQ
-
Add Redirect token – token for redirects
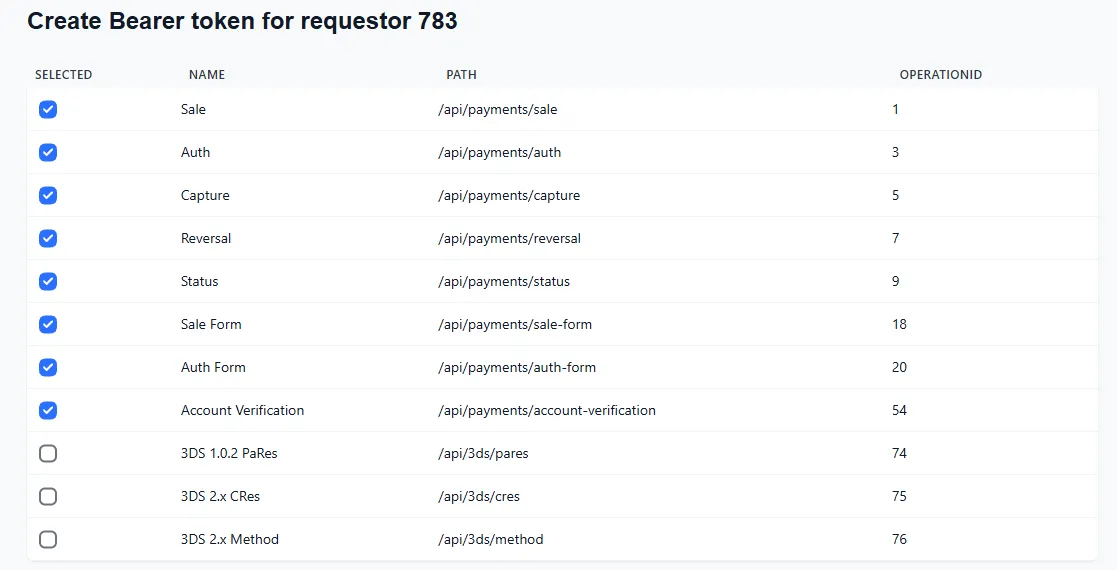
Next, select the types of operations (you can choose all or only those you want to use):
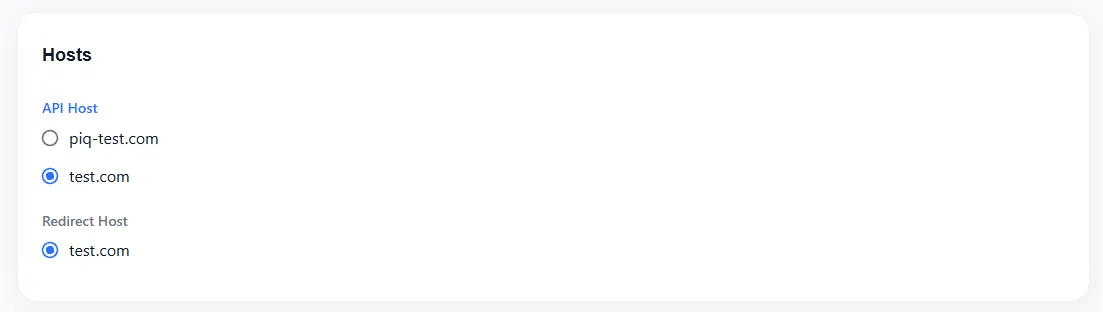
Then, select Hosts
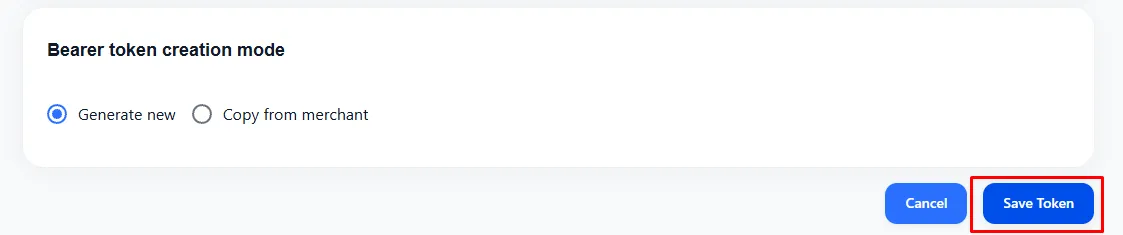
In the Bearer token creation mode section, you can generate a new token or copy a token from the merchant:

-
Generate new – create a new token
-
Copy from merchant – copy the token from the merchant (all tokens will be the same for the merchant)
After filling in the data, click the Save Token button to save the token in the system
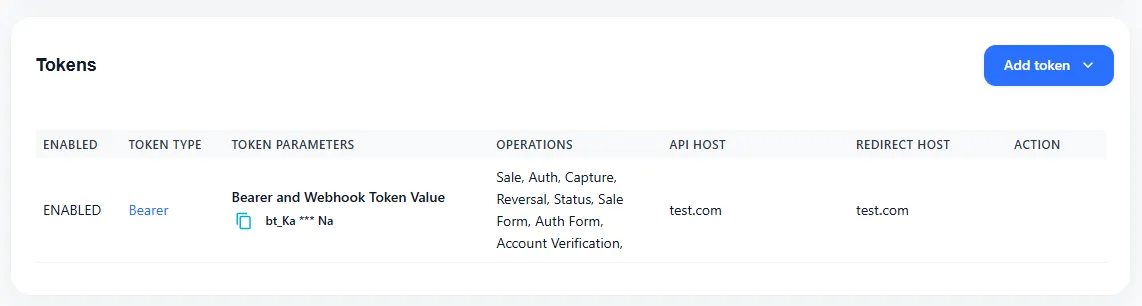
Editing Tokens
To edit tokens, locate the Tokens section on the requestor screen
- To copy a token, click the copy icon in the token value field
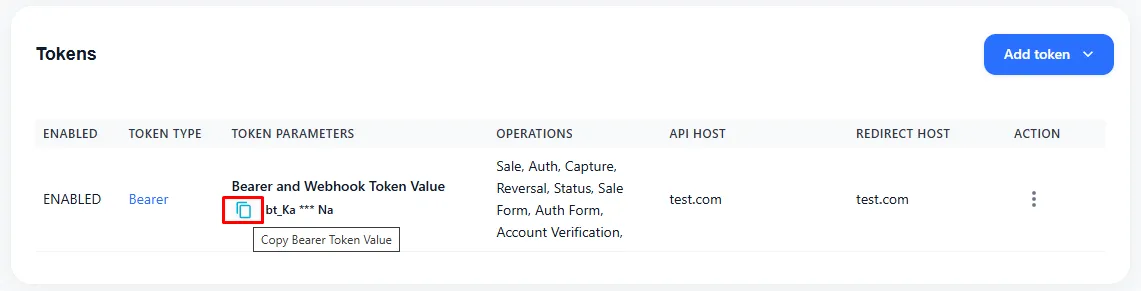
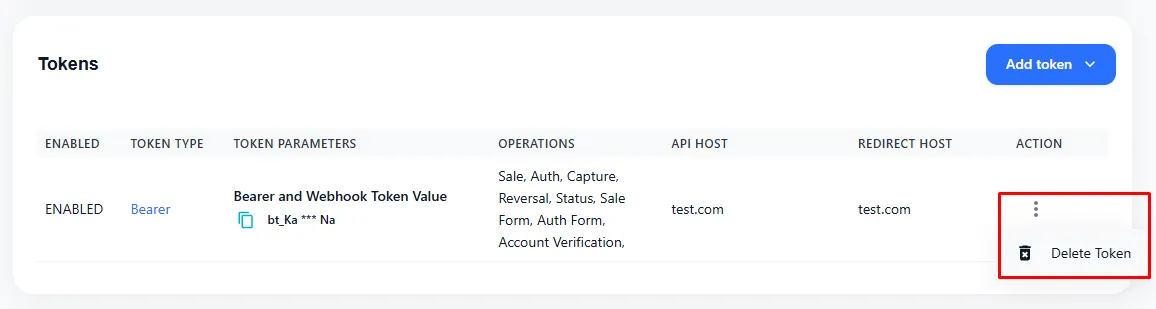
- To delete a token, click the three dots in the ACTION column, then select Delete Token
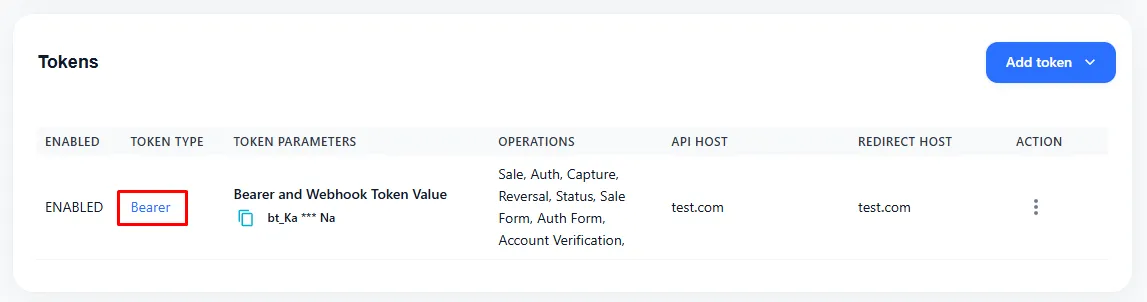
- To modify token settings (operation types/hosts), click the token type in the TOKEN TYPE column
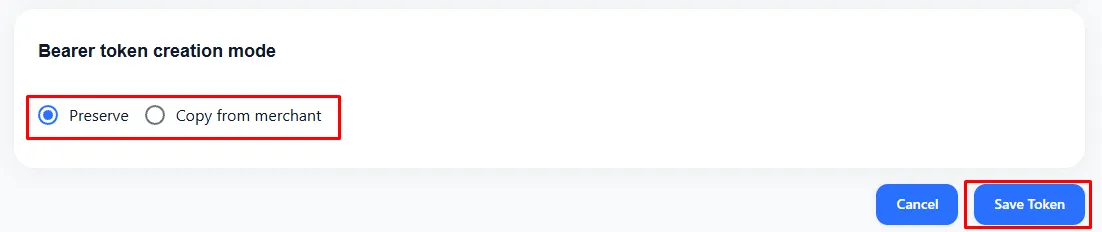
After clicking, the token settings editing screen will open. After making changes, you must choose whether to keep the same token or copy from the merchant, then click the Save Token button
Attributes
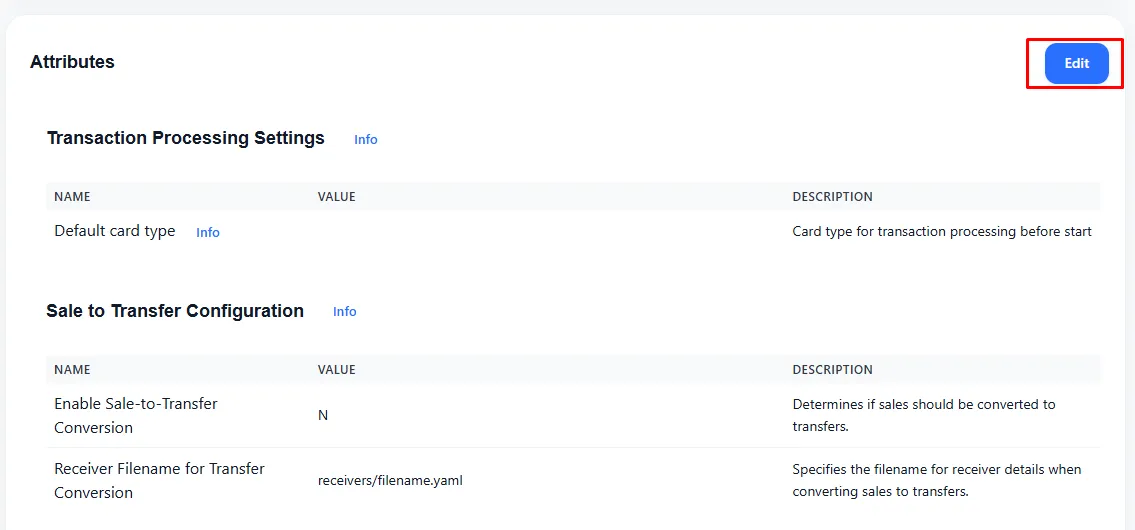
Transaction processing settings
If you work with providers that use their own forms (Open Banking / Google Pay / Apple Pay), in the Transaction Processing Settings section, you can specify the card type ID, in which case a card request will not be sent, and the process will proceed directly with the selected card type.
For extended information about the settings being configured, click the Info button in the Transaction Processing Settings section

In the opened additional information window, you can see the ID for each payment system:
To use a universal form without requesting the merchant’s card, you can use [9] Any Credit Card.
To change the card type settings, click the Edit button
Enter the ID of the card type:
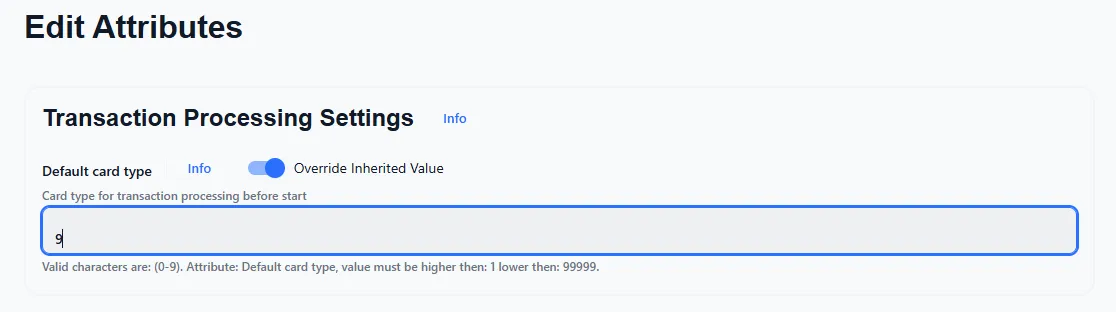
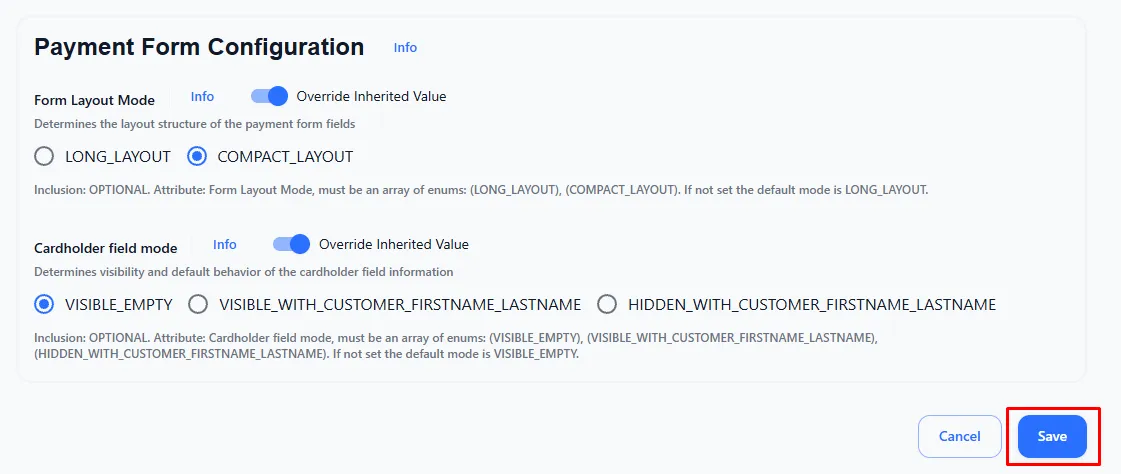
After filling in, click the Save button at the bottom of the page:
Merchant customer generator
Custom settings for specific cards. If you need to use custom settings, contact our system’s technical support for consultation.