Blueprint
In the left menu panel, expand the ENTITIES tab.
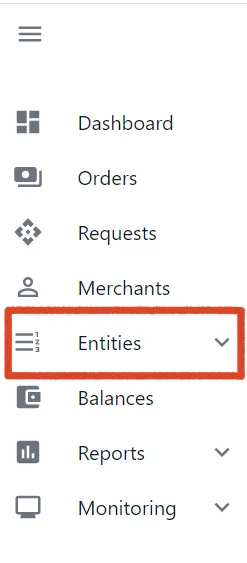
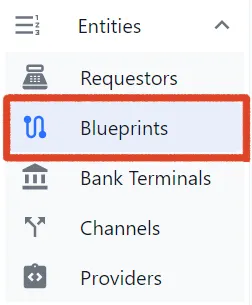
Go to the BLUEPRINTS section.
In the top right corner of the page, select CREATE BLUEPRINTS.
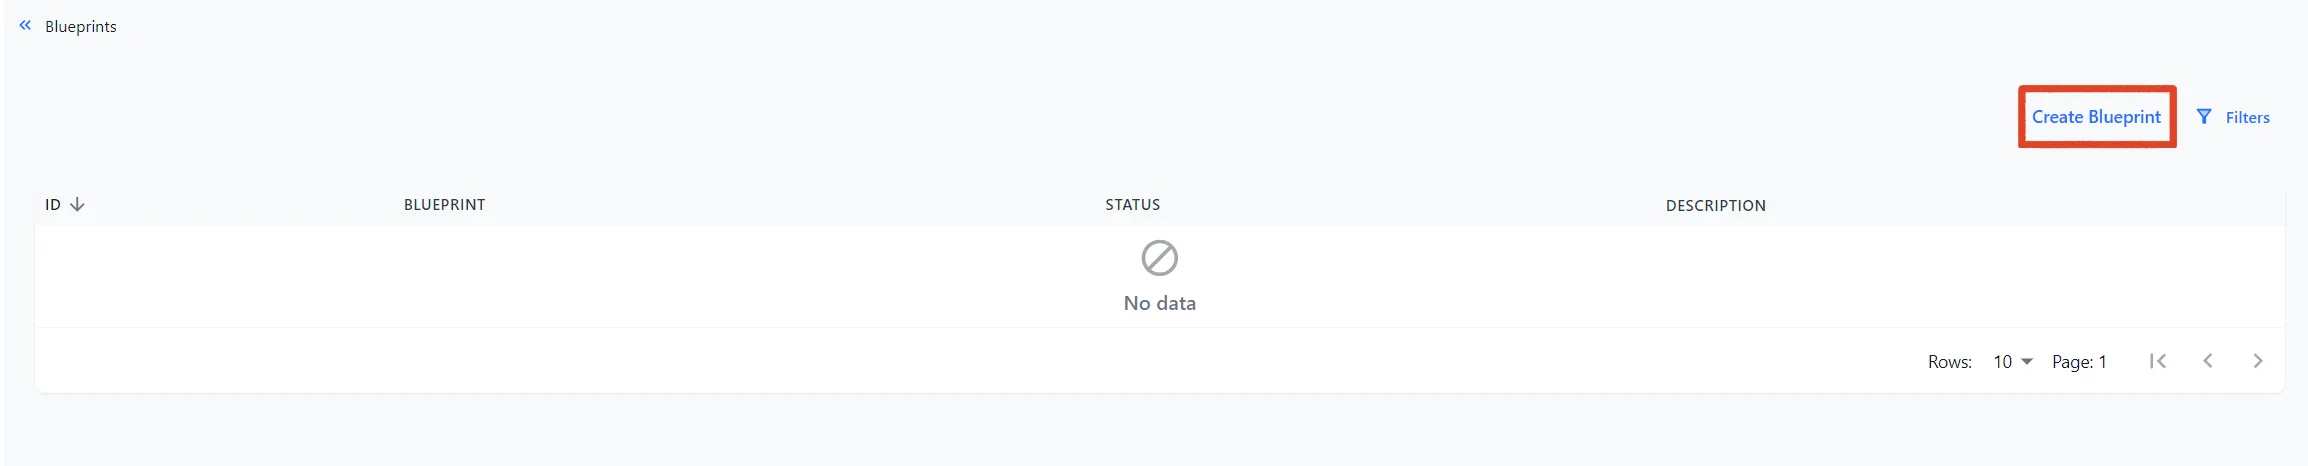
You will go to the BLUEPRINT creation page.
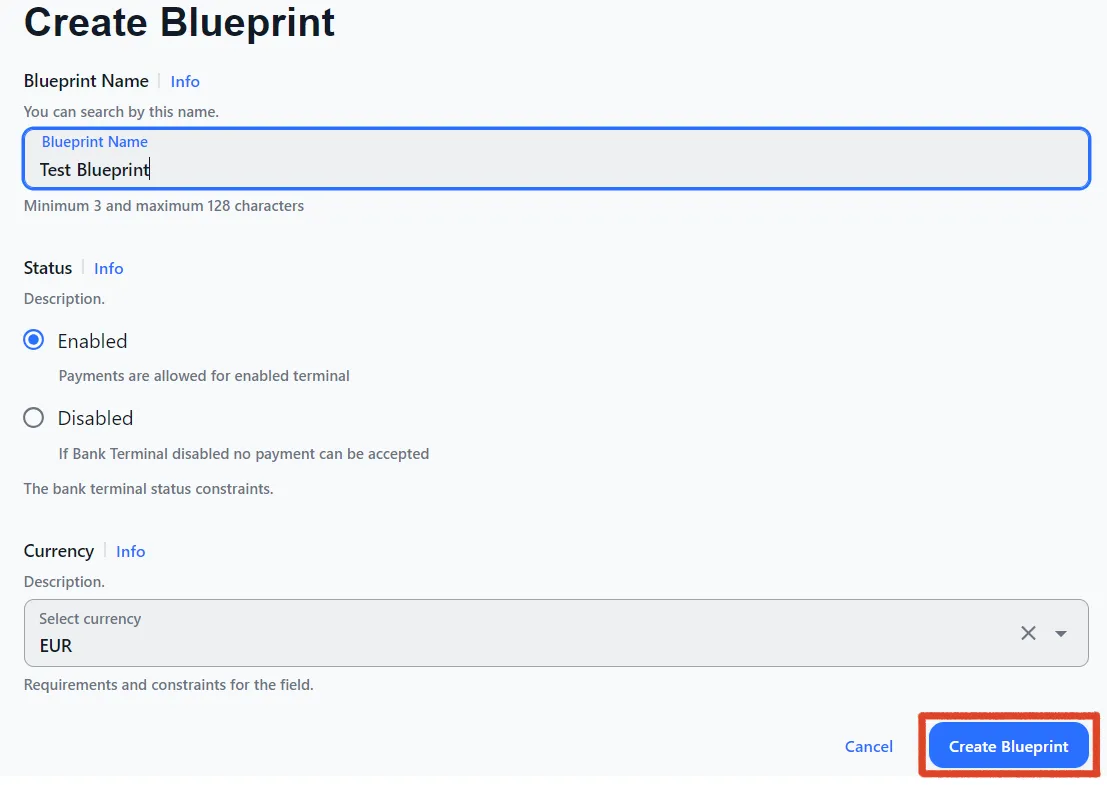
Next:
- Name your BLUEPRINT
- Set the status — Enabled/Disabled.
- Select a currency from the list.
The name of each new blueprint must be unique.
Next click Create Blueprint.
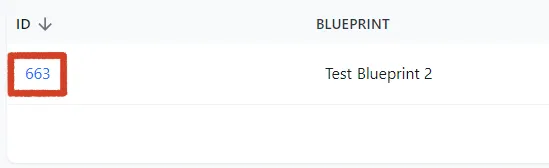
You will go to the page of your new Blueprint
To continue the setup, click on its ID number
You will go to the page of Blueprint
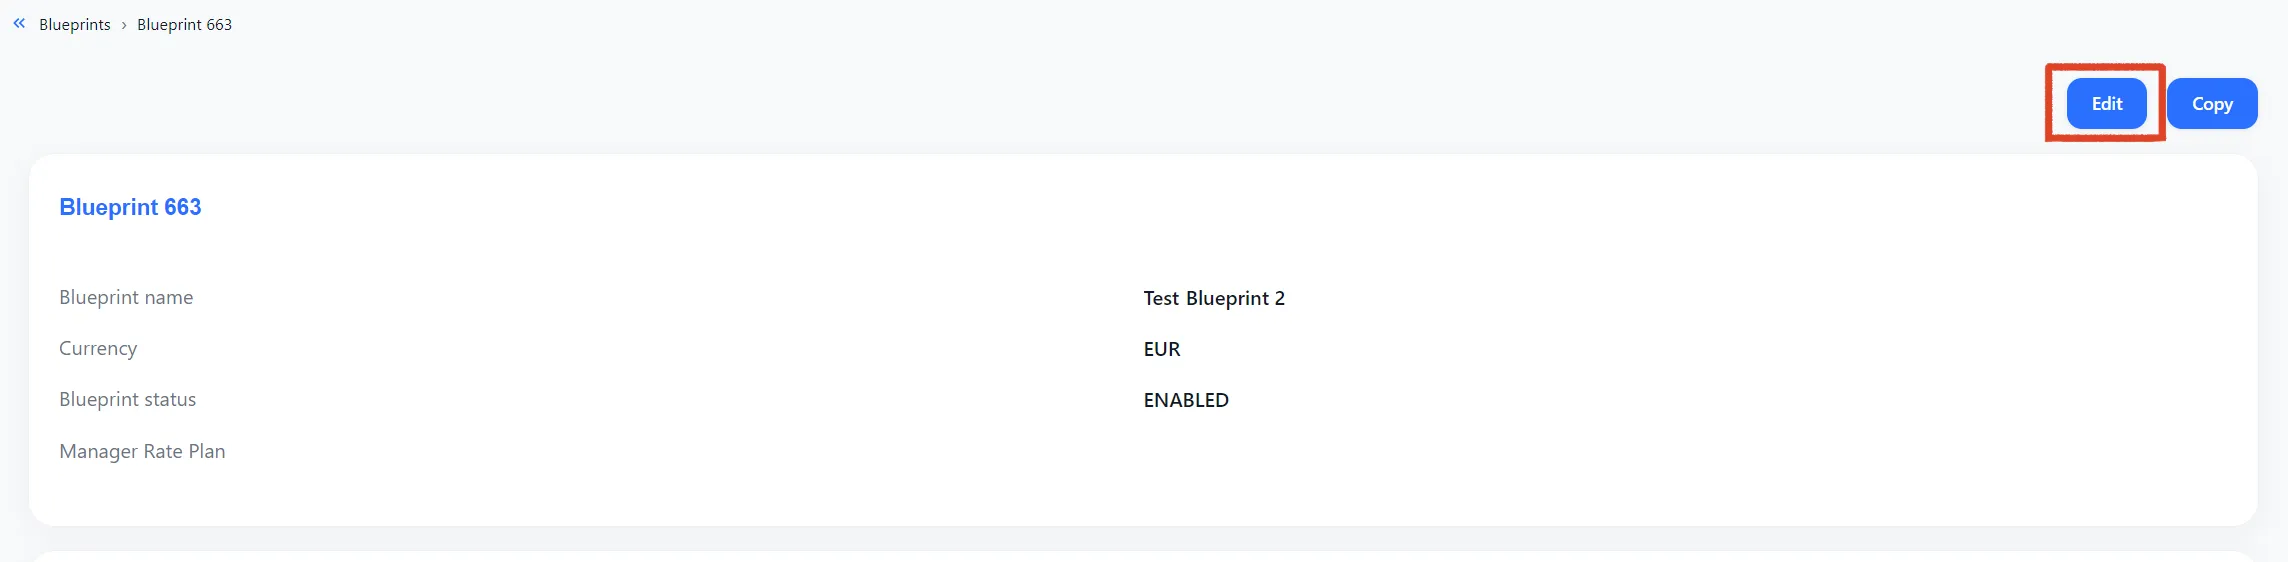
On the top right corner of the page, you can always change the Blueprint settings - EDIT button
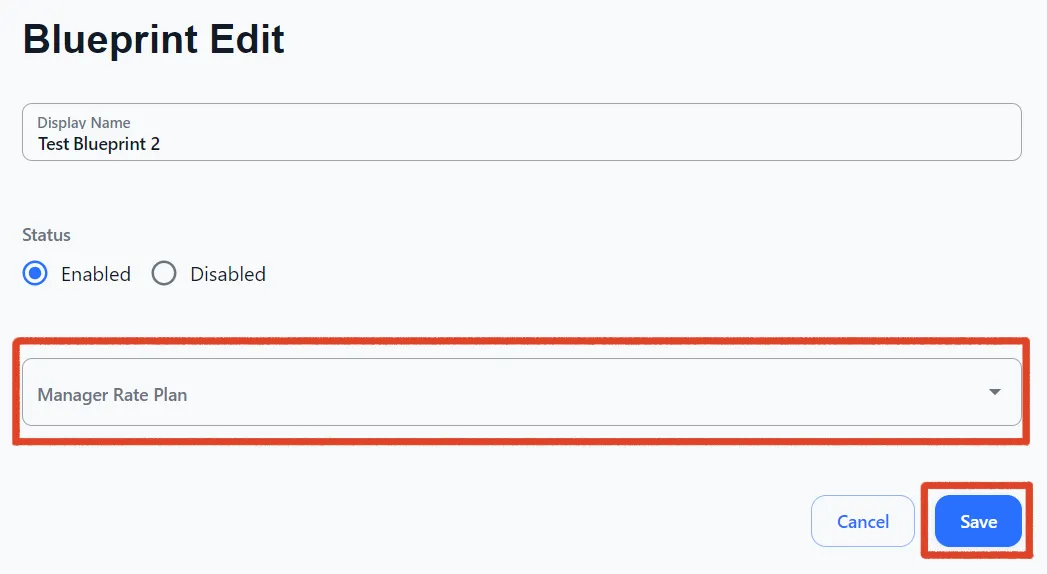
On the BLUEPRINT EDIT page you can:
- Change the Blueprint name
- Change the status
- Select Manager Rate Plan
Restrictions
If you need to configure countries for your Blueprint in the Restrictions section, select the IP country allow list by customer address option.
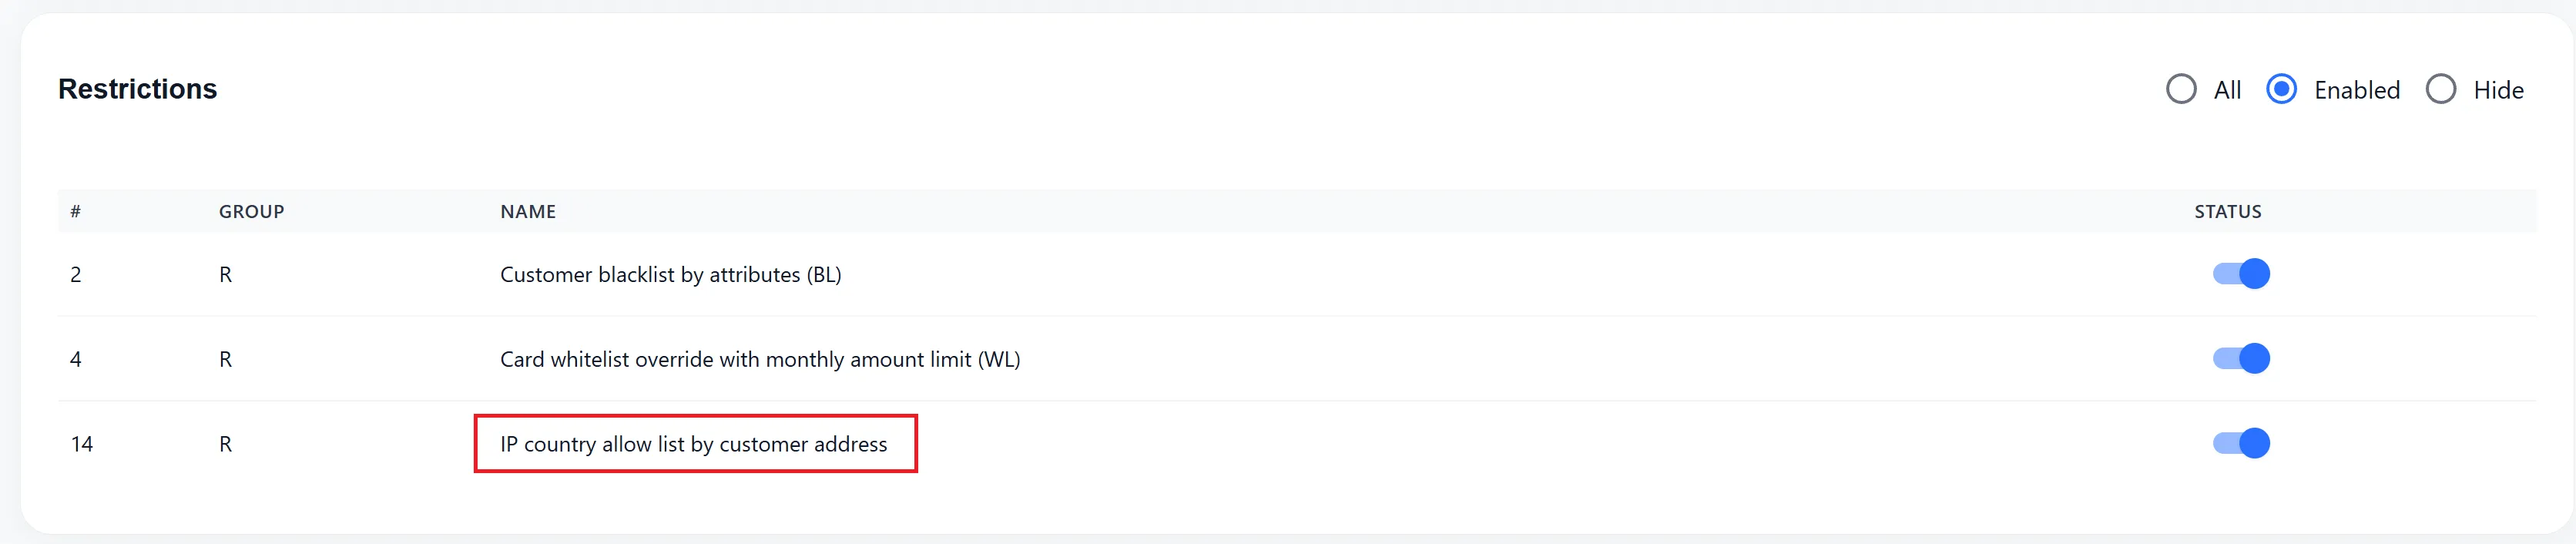
Simply click on the name, and you will be taken to the IP country allow list settings.
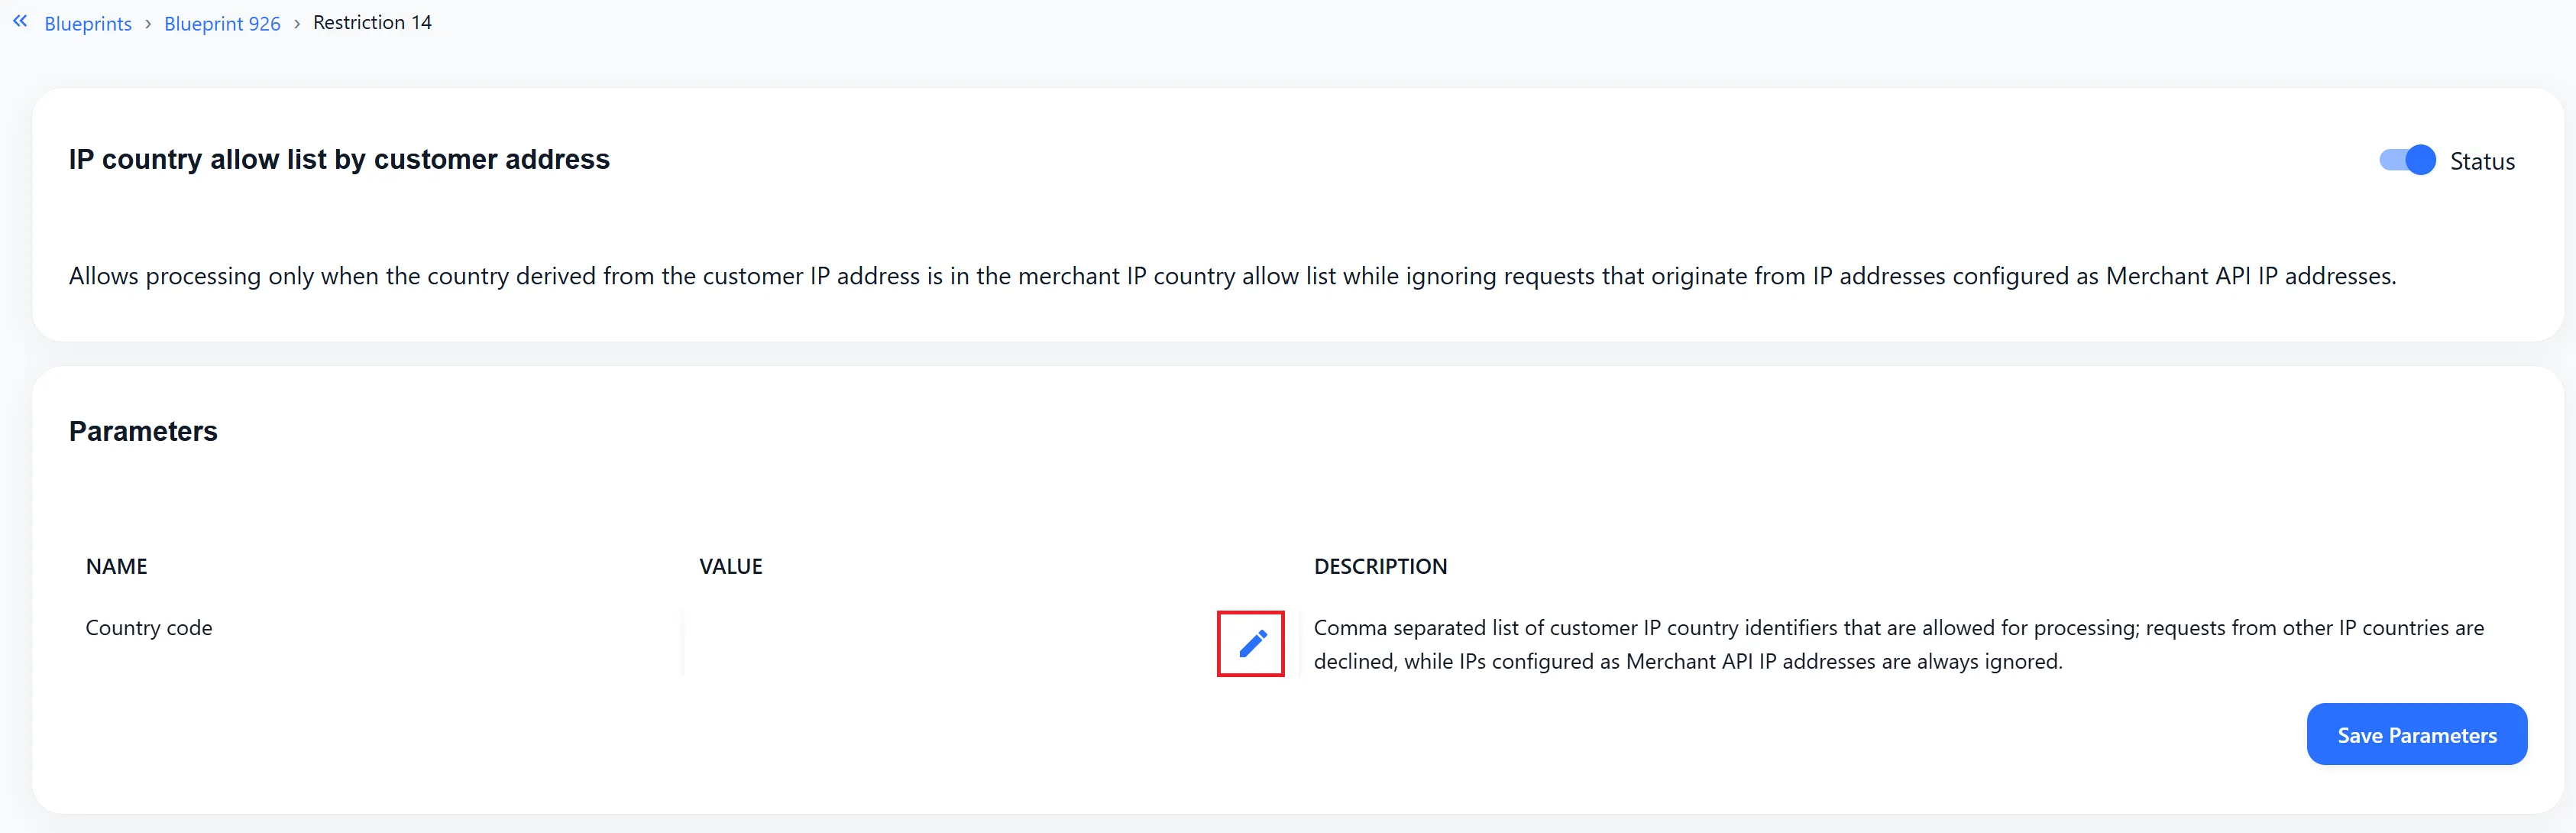
Then, use the pencil icon to open the settings menu.
Important: This feature applies to any Restriction with country selection.
Select the required countries from the list and then click Save Countries.
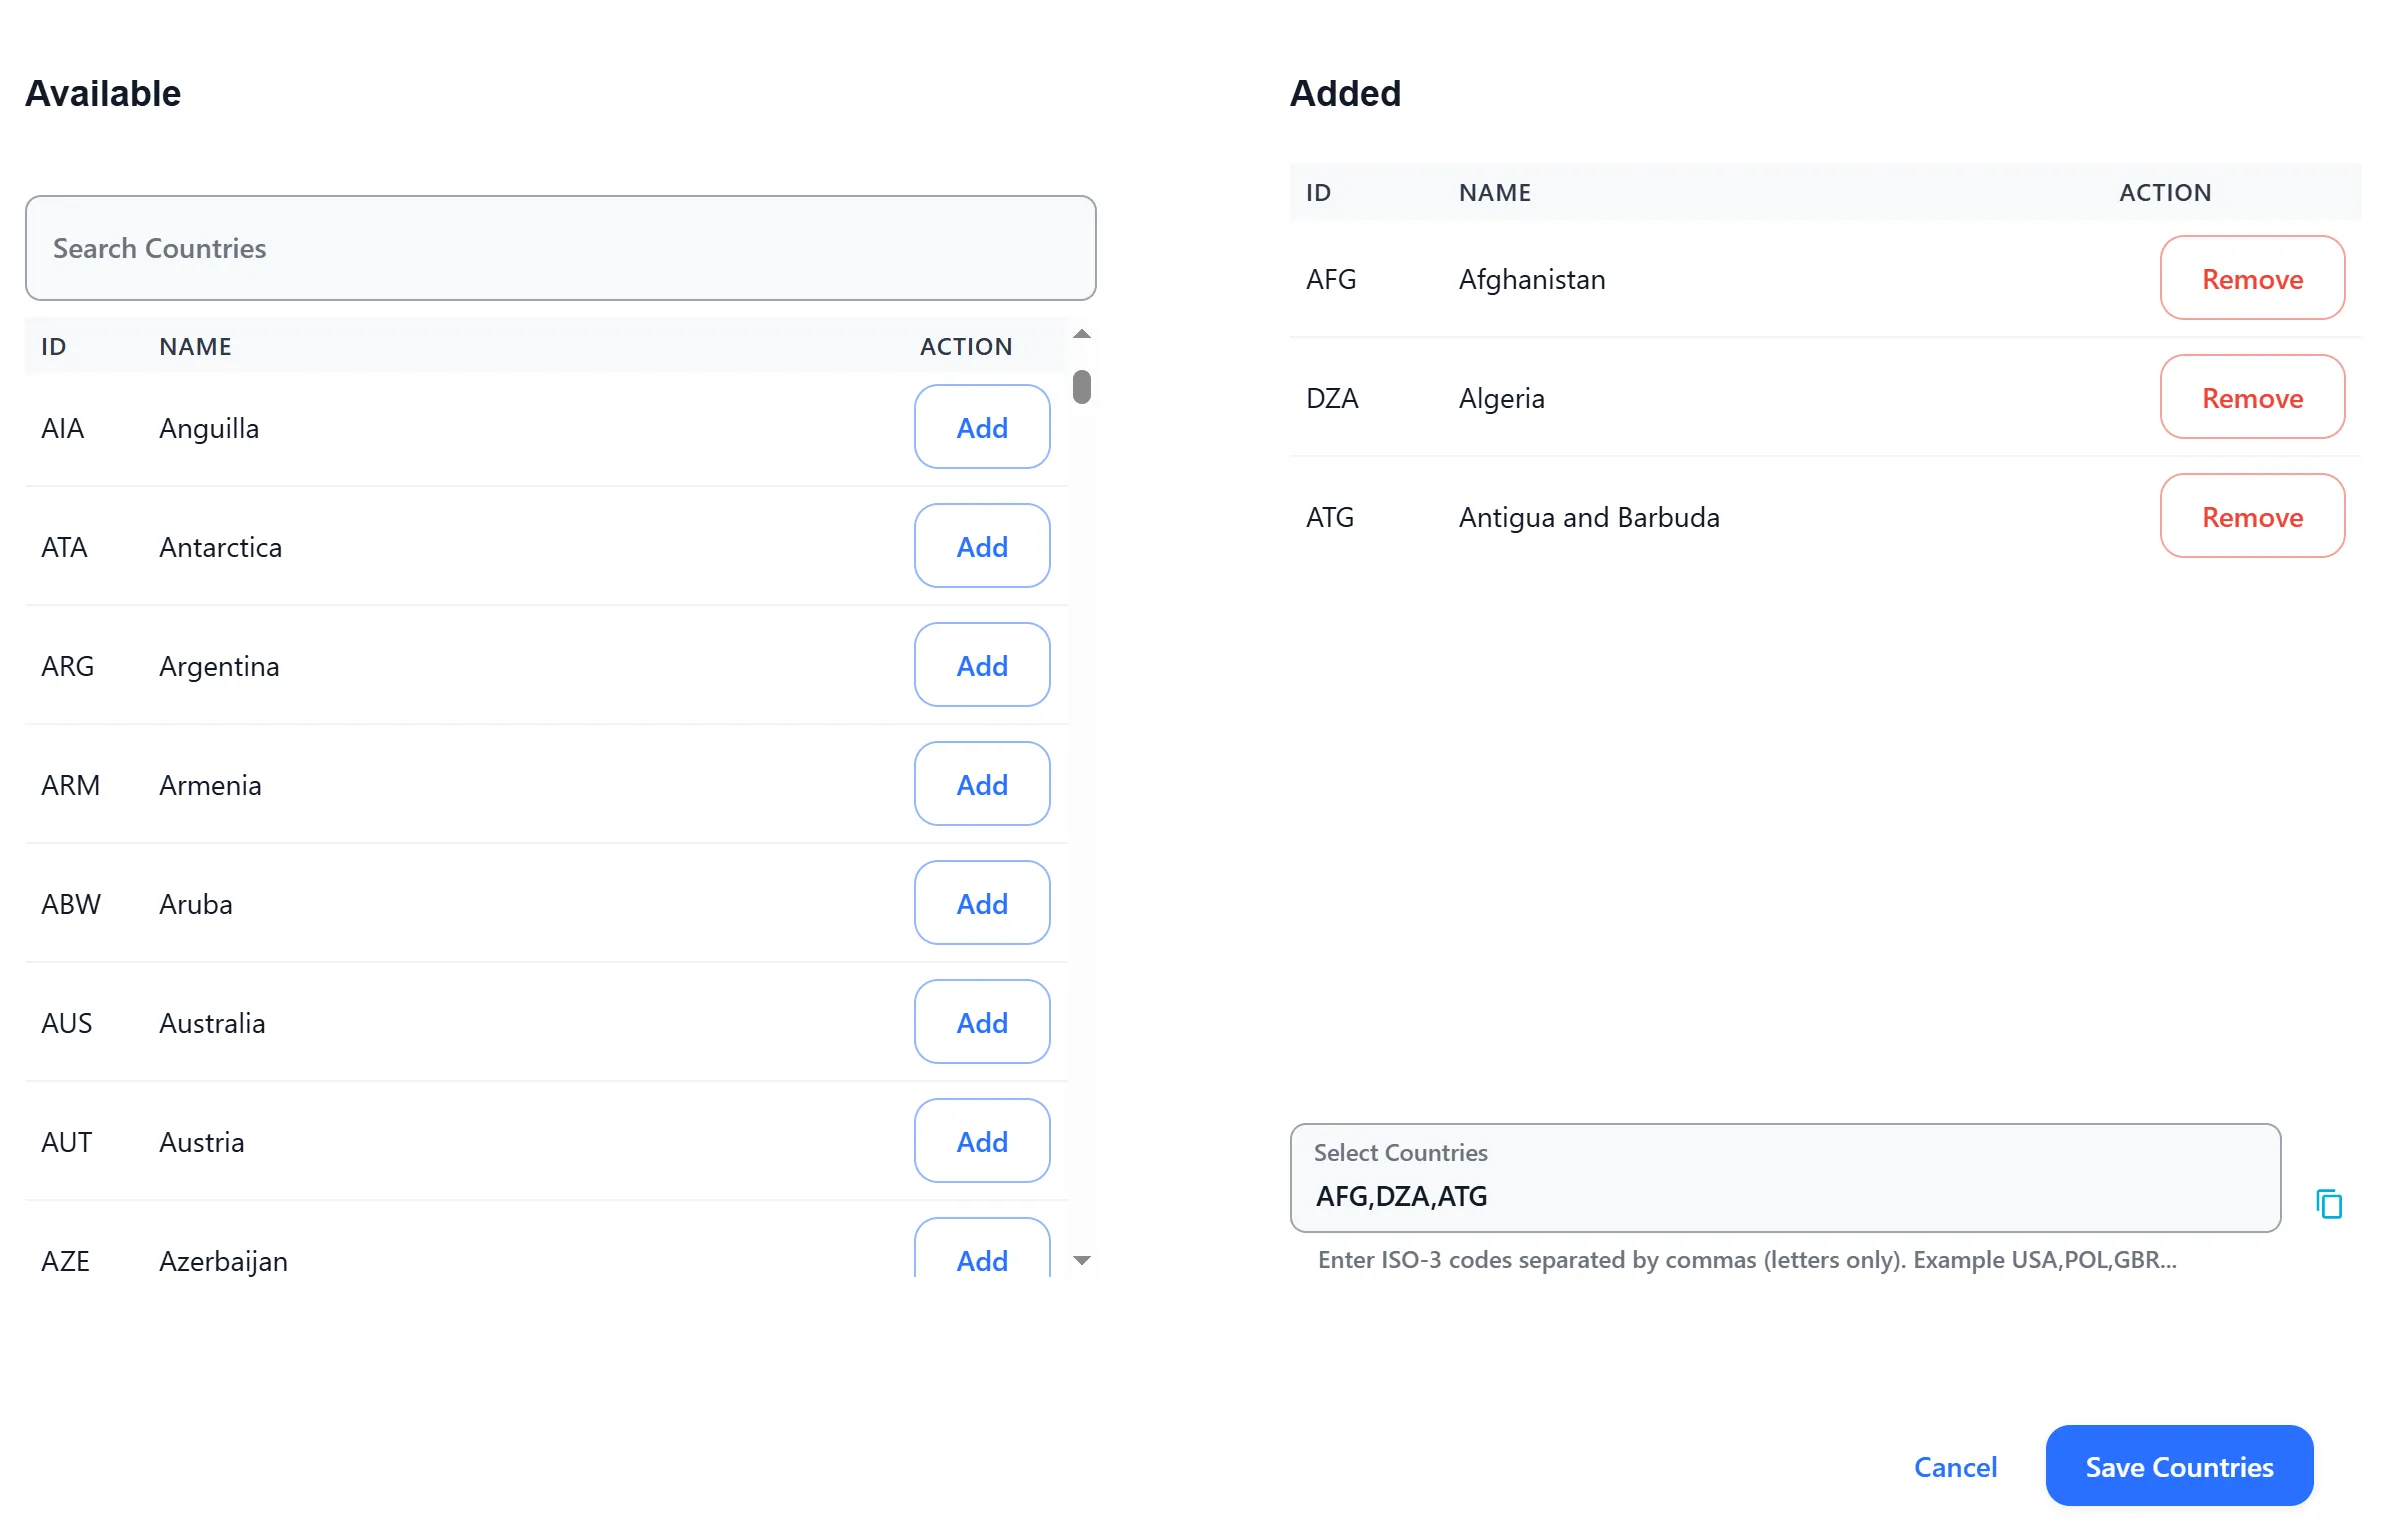
To speed up configuration and transfer countries from one restriction to another, a field with ISO codes and the ability to copy its contents is provided. The ISO-3 codes correspond to the selected countries.
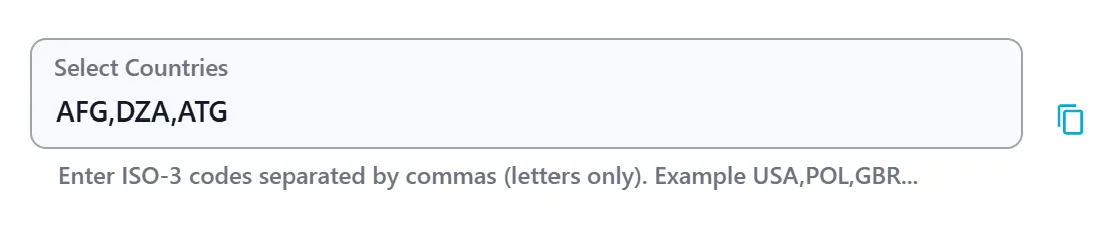
After adding countries to the restriction, they will be displayed as ISO-3 codes on the Restriction page.

Create Route
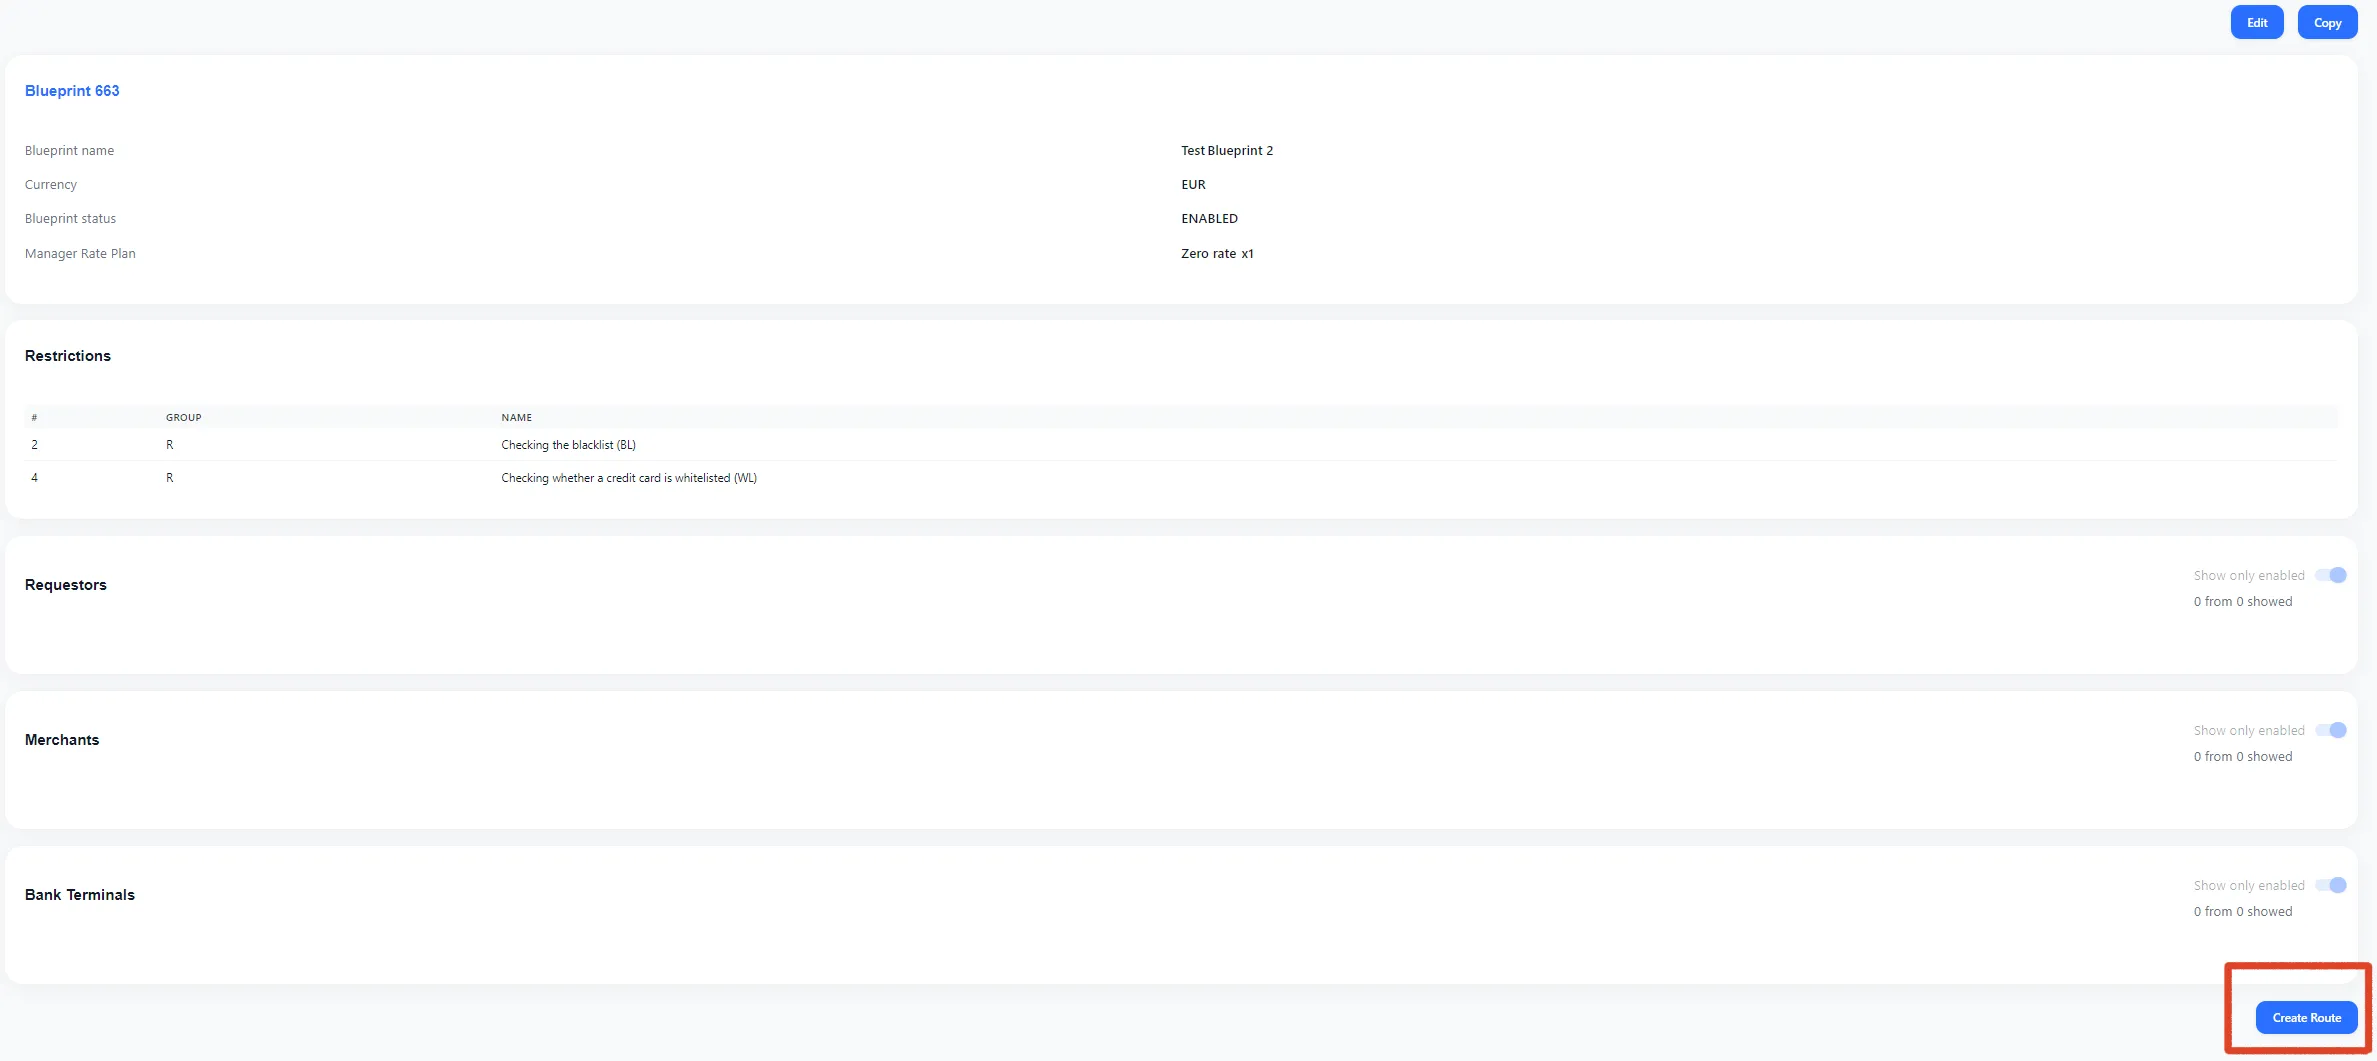
In the bottom left corner of your Blueprint page, select Create Route
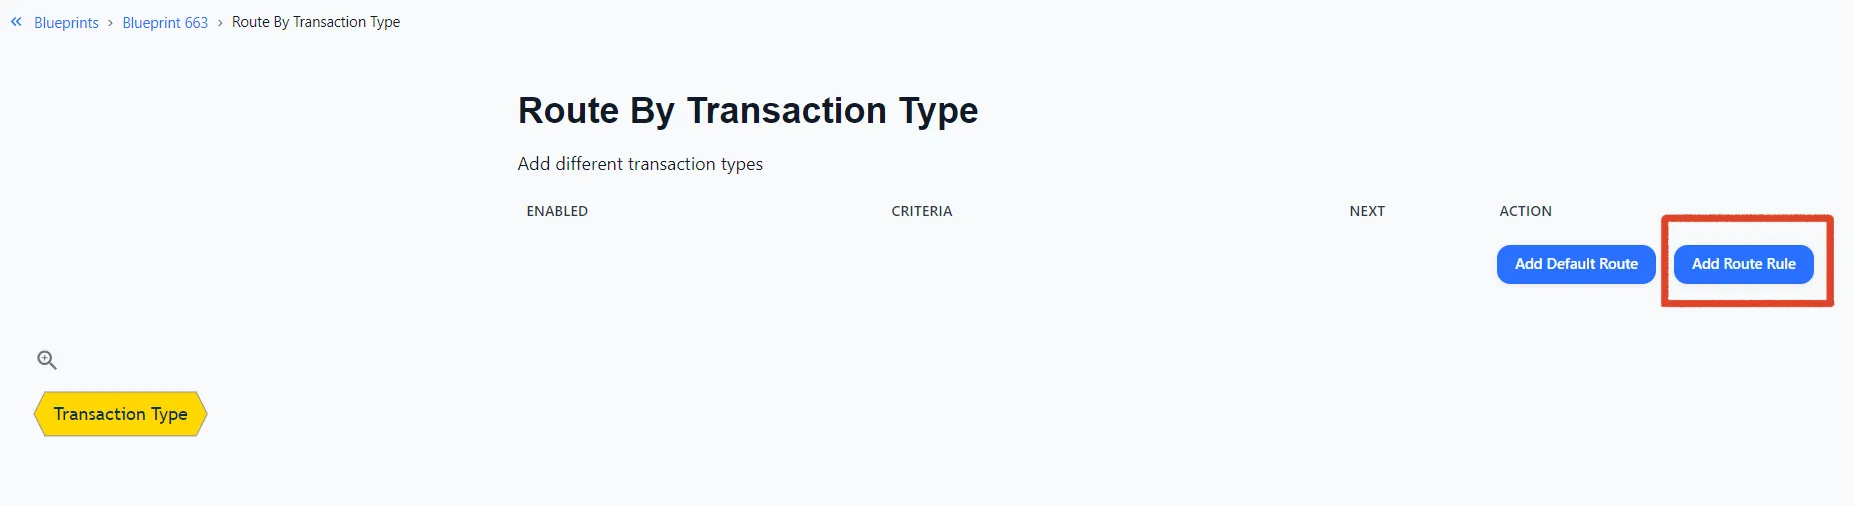
Here you can add a default Route or create your own.
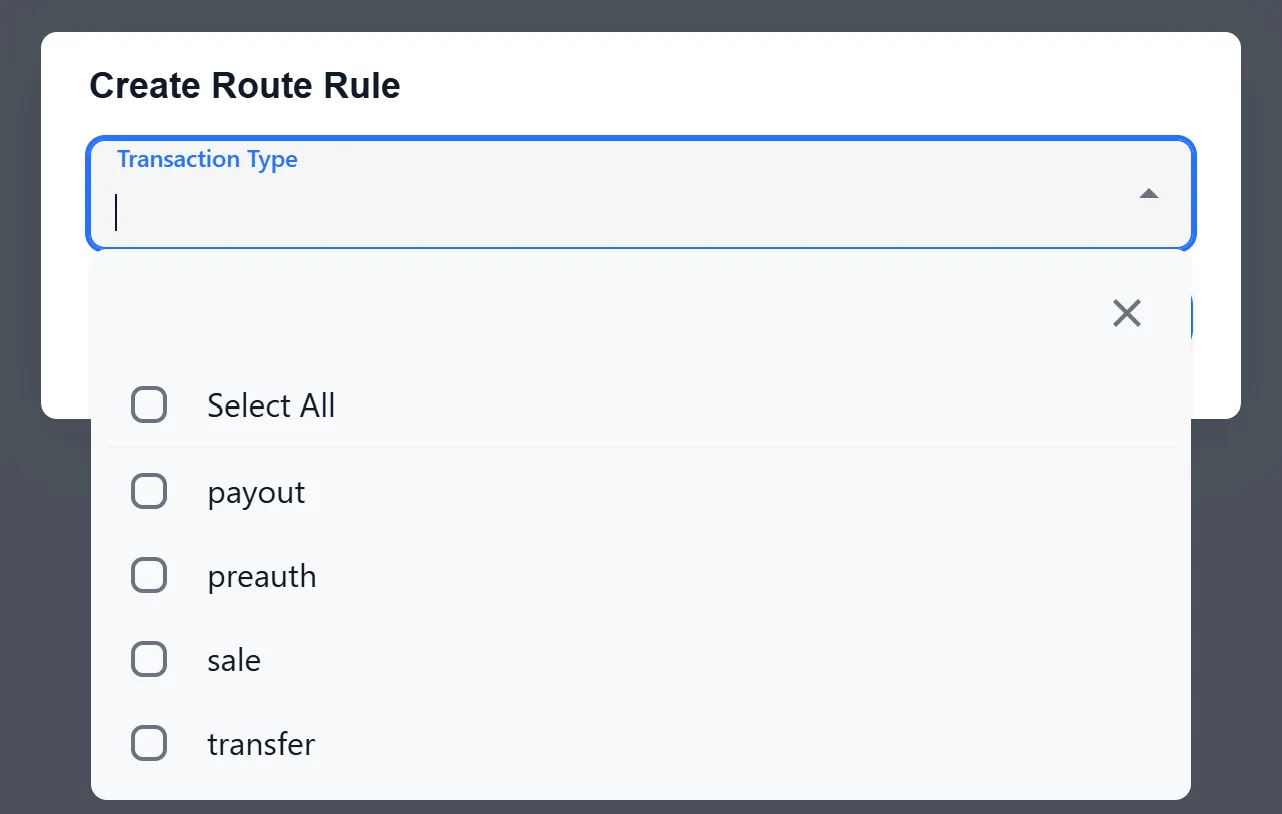
When going to Create Route Rule, a list will open, select the item you need.
What Route Rules you can choose:
- account verification
- Payout
- Preauth
- Sale
- Transfer

Then you can select the transaction type from the proposed list by clicking Add Route
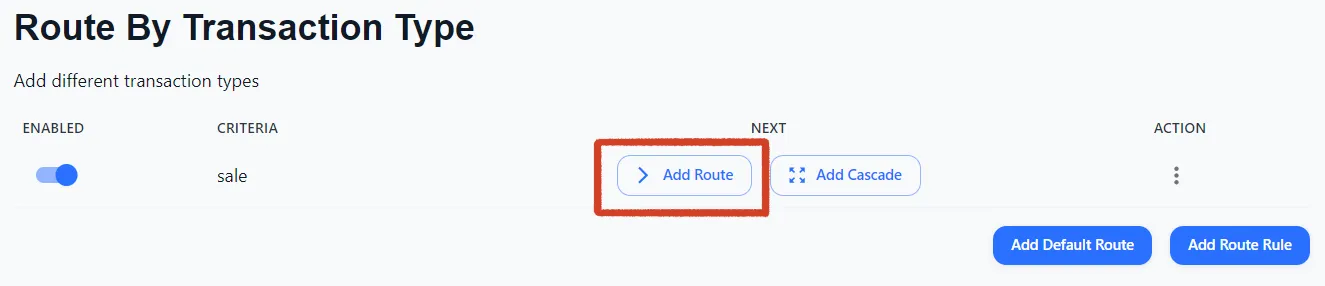
To delete or edit Route links, use the Action button

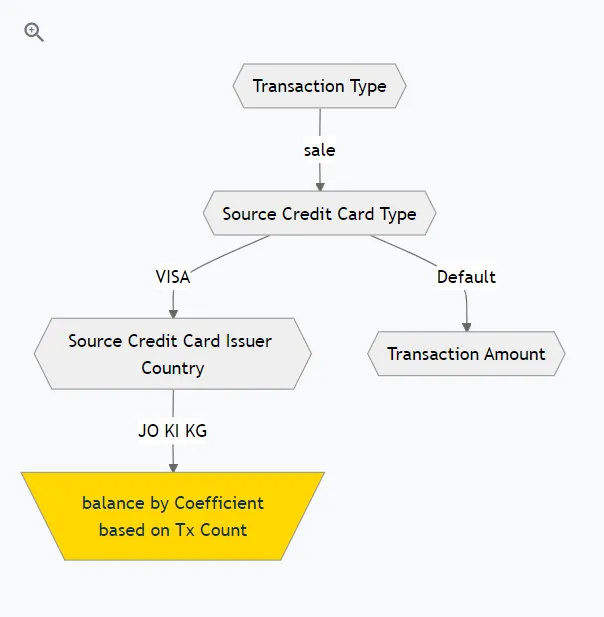
This way you can supplement the scheme, adjusting it to your goals
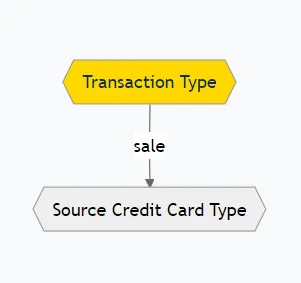
You can continue the setup by switching between transaction types using the scheme:
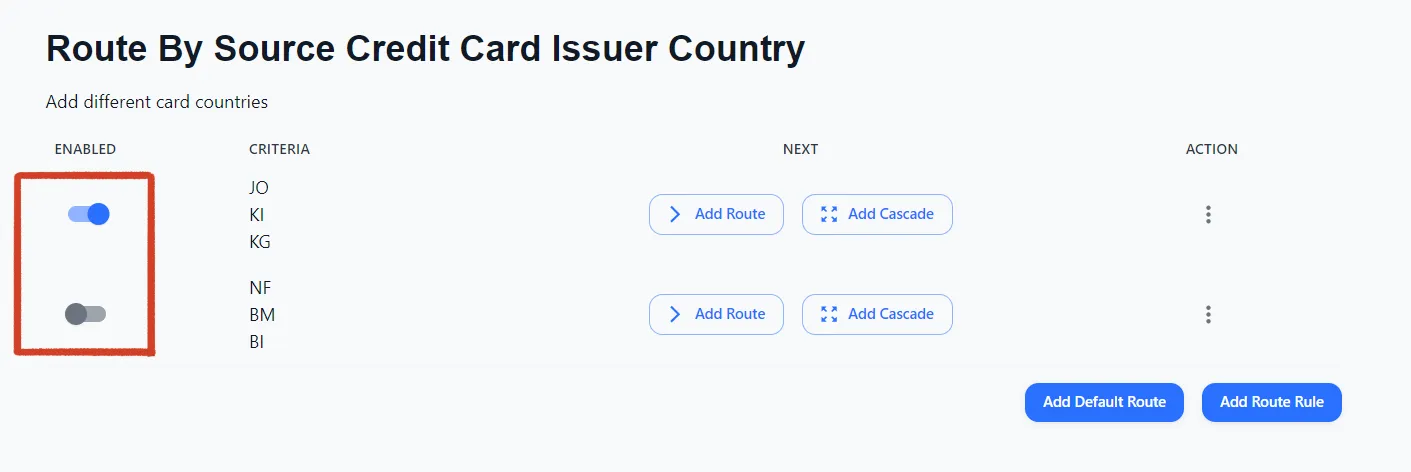
To add restrictions to the Route Rule you need to add Route and set its status to Disabled
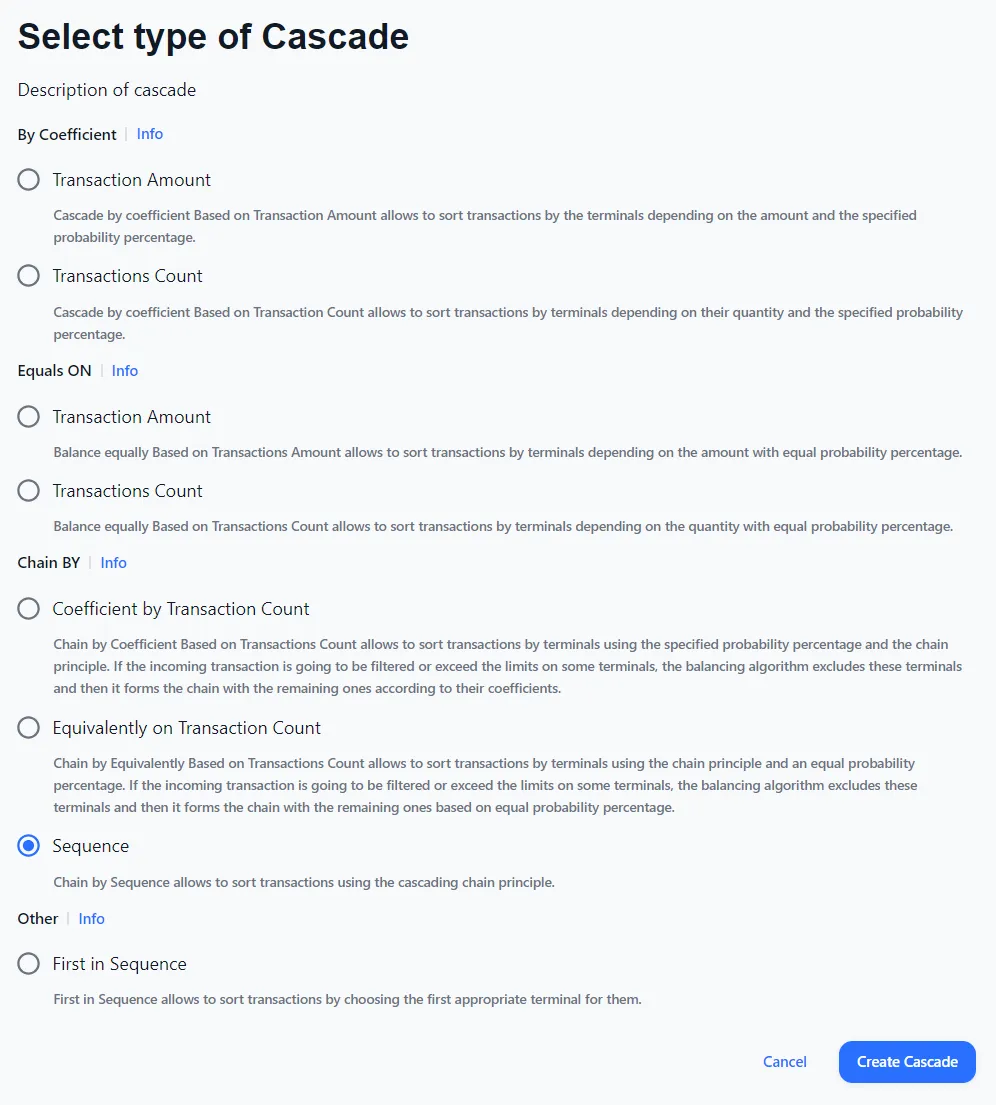
Create Cascade
To add Cascade click Create Cascade in Route Rule
Then select the Cascade type from the list and click Create Cascade